Norton Shopping Guarantee WooCommerce Getting Started App
This guide works for both WordPress and WooCommerce
Norton Shopping Guarantee with Package Protection is a free WooCommerce extension that helps you to increase sales by instilling trust the moment consumers enter your online store and protecting them from purchase to delivery. By installing the extension onto your store you will get the following benefits:
- Safe Shopping trust badges: Increase shopper confidence and encourage purchase completion
- Package Protection: Customer-paid shipping insurance for any loss, damage, or theft
- Shopping Guarantee: Low price guarantee, purchase guarantee, and identity theft protection
- Business information highlights: Easy access to your customer’s shopping behaviors
- Happy customers: Reduced chargebacks and negative reviews with increased repeat buyers
Here’s a step-by-step guide to installing the Norton Shopping Guarantee extension on your WooCommerce store.
Installation
- Go to the Norton Shopping Guarantee page on the WooCommerce Marketplace. Or, from your WooCommerce Dashboard, navigate to the WooCommerce Marketplace and search for “Norton Shopping Guarantee.”
- Click Add to Store.
- WooCommerce will either automatically install the Norton Shopping Guarantee, or it will prompt you to download a ZIP file.
- Go to: WordPress Admin > Plugins and verify Norton Shopping Guarantee is installed. If you need to upload the ZIP file, choose Add New > Upload and select the ZIP file you downloaded.
- Once the plugin is installed, click Activate.
- Next, connect your store to Norton Shopping Guarantee by either clicking in the green plugin Notification, or by clicking “NSG Account Settings” in the plugin listing. Continue to the next section, “Connecting your store to Norton Shopping Guarantee”
You now have the extension installed on your WooCommerce store, the next step is to register and connect your store with Norton Shopping Guarantee. More information at: Install and Activate Plugins/Extensions.
Connecting your store to Norton Shopping Guarantee
- After you Activate the Norton Shopping Guarantee extension, you’ll see a green notification “To enable Norton Shopping Guarantee on your website, please connect your store.”
- Click “connect your store” to begin the account registration process. You can also continue this process later by clicking on “NSG Account Settings” in the plugin listing within your store.
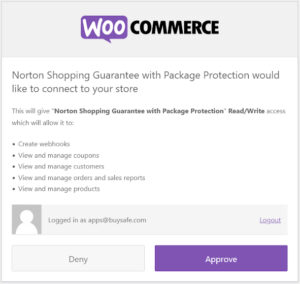
- WooCommerce will ask your permission to connect your store to Norton Shopping Guarantee with Package Protection. Please review the details and Approve the connection. See Figure.1
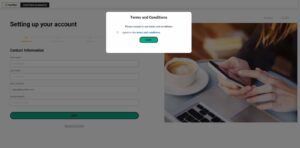
- Review the Norton Shopping Guarantee with Package Protection terms and conditions, check the box to agree, and click Submit. See Figure.2
- Check your email inbox to retrieve your temporary password. Choose a new password to secure your account, and click Save.
- Review and edit your contact information, and click Next.
- Review and edit your business information, and click Next.
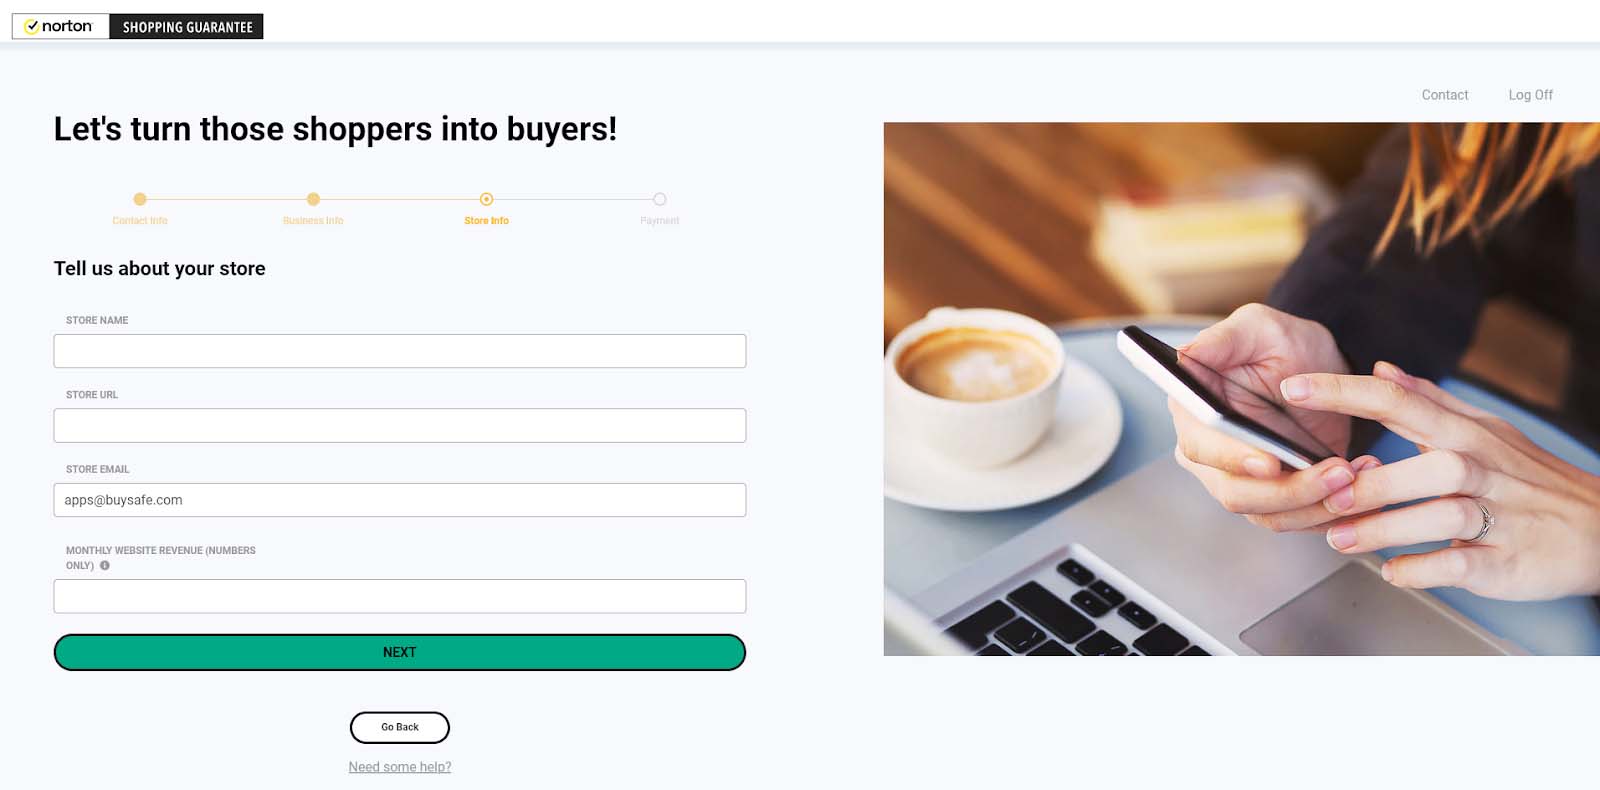
- Confirm your store name, URL, and customer support email address. We ask for an estimate of your site’s monthly sales in order to estimate your monthly shipping volume. After entering this information, click Next. See Figure.3
- Enter your billing information. Why do we need your credit card?
- When shoppers add Norton Shopping Guarantee with Package Protection to their cart, they will pay for the coverage as part of their order.
- You collect the service fee from each shopper as part of the normal checkout payment process.
- On a monthly basis, we will send you an invoice to report the fees that you have accumulated and will charge that balance to your credit card.
You have now successfully registered your store for a Norton Shopping Guarantee with Package Protection account, and you’re ready to begin setup and configuration.
Setup and Configuration
- Welcome WooCommerce user! You should see a welcome message titled “Welcome WooCommerce user!” in the dashboard indicating your registration was successful. See Figure.4
- Your new account requires a quick review before we enable the service. We will also configure the system for your store, and contact you to finalize the setup.
- After we successfully review and configure your store, that’s it! Norton Shopping Guarantee with Package Protection is enabled on your store!
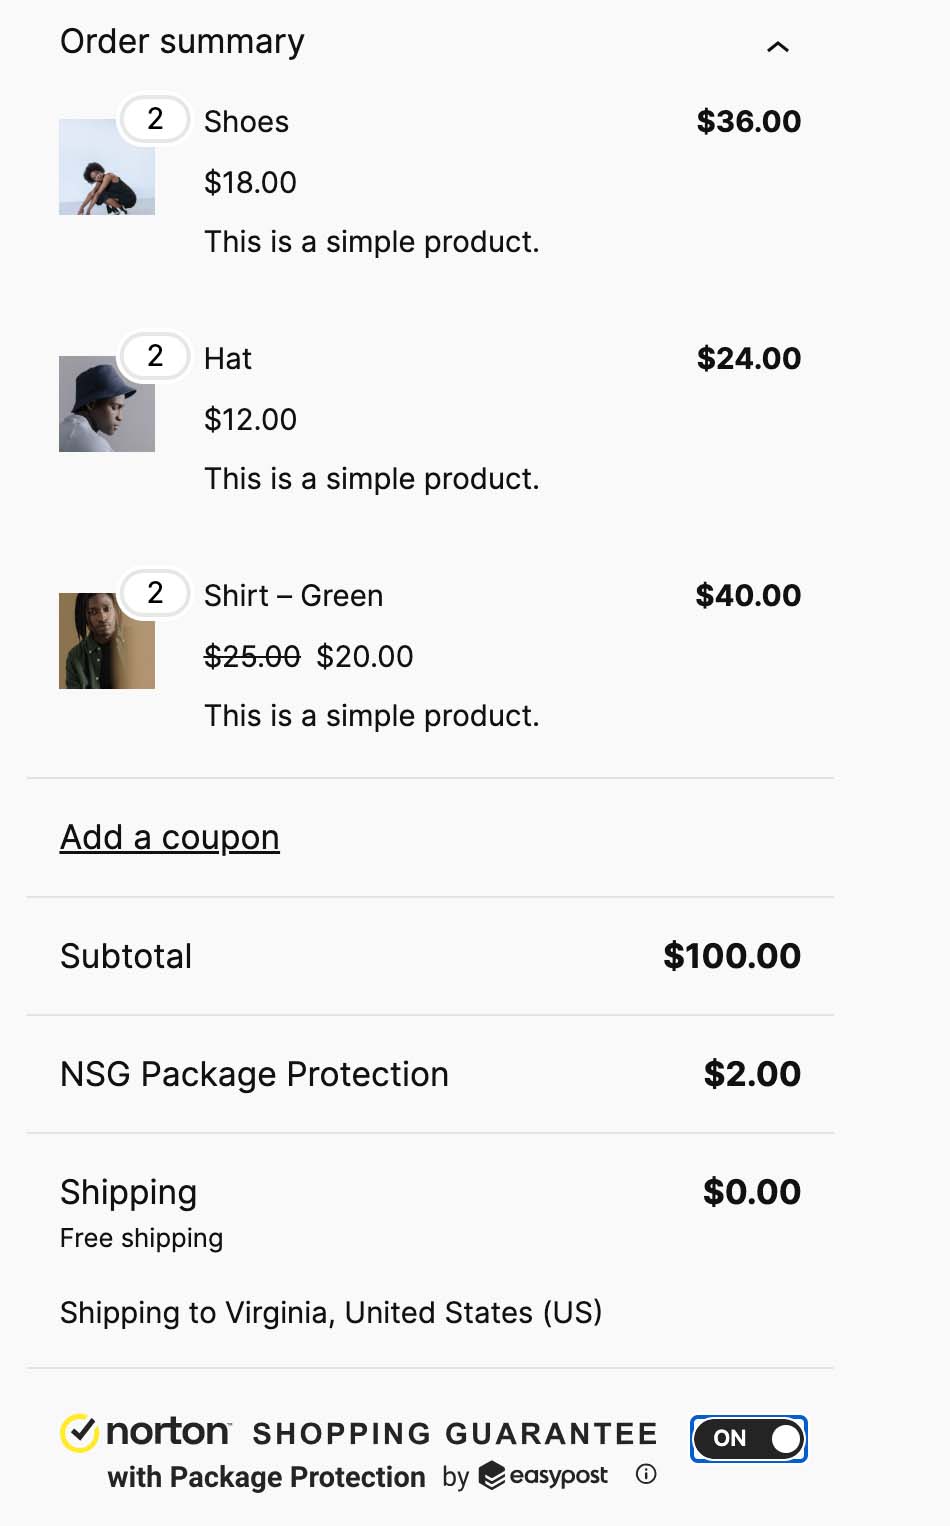
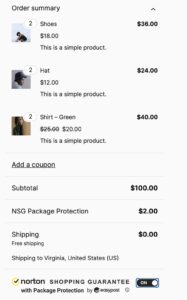
Go ahead and add an item to your cart, and advance to the cart or checkout page to ensure the service is displaying correctly. See Figure.5


Need more help?
If you still have questions or concerns please don't hesitate to reach out to our support team.